
canon rebel t3 instruction manual
Lost your Canon Rebel T3 manual? Find everything you need – from basic setup to pro tips – right here! Download & start shooting amazing photos today. ✨
Canon Rebel T3 (EOS 1100D) Instruction Manual: A Comprehensive Guide
Welcome! This manual unlocks your Canon Rebel T3’s potential, offering a beginner-friendly, comprehensive guide to maximize your photographic journey and experience.
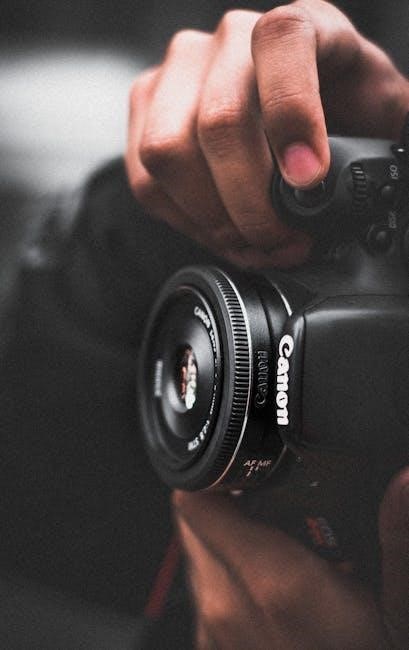
The Canon Rebel T3 (also known as the EOS 1100D) represents an excellent entry point into the world of Digital Single-Lens Reflex (DSLR) photography. This guide serves as a comprehensive resource, designed specifically for both novice and aspiring photographers eager to harness the full capabilities of this popular camera.
We’ll navigate you through every aspect, from initial setup and understanding the camera’s controls, to mastering shooting modes and achieving optimal image quality. This manual aims to demystify complex photographic concepts, empowering you to move beyond automatic settings and explore your creative vision. Prepare to unlock a new realm of photographic possibilities with your Canon Rebel T3!
Unboxing and Initial Setup
Carefully unpack your Canon Rebel T3, ensuring all included accessories are present: the camera body, EF-S 18-55mm kit lens, battery, battery charger, neck strap, and this instruction manual. Begin by inserting the battery into the battery compartment, located at the bottom of the camera. Next, attach the kit lens by aligning the white marks and rotating clockwise until it clicks securely.
Charge the battery fully using the provided charger before first use. Once charged, insert an SD memory card into the card slot; Power on the camera and follow the on-screen prompts to set the language, date, and time. Congratulations, your Rebel T3 is now ready for its first adventure!
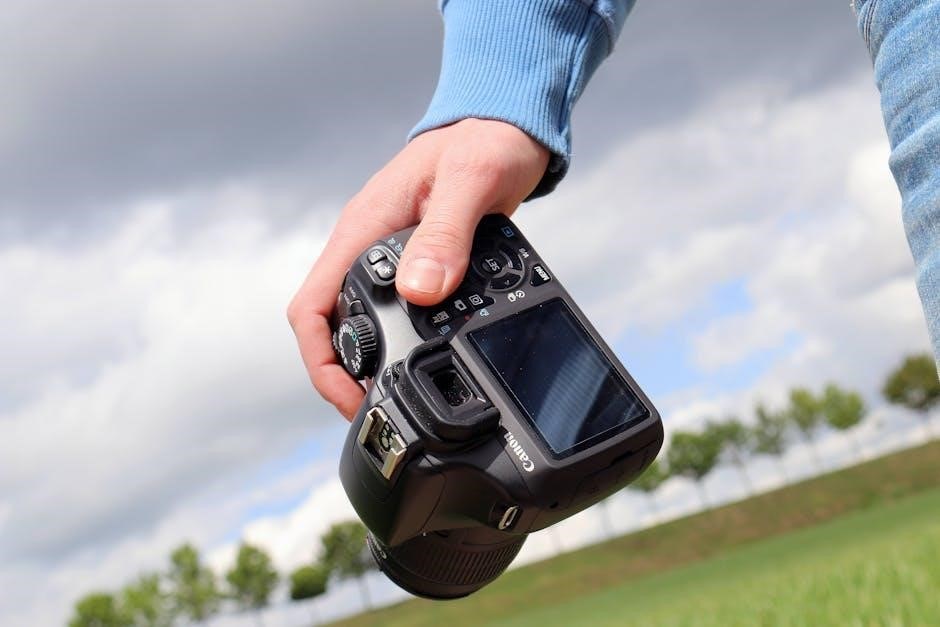
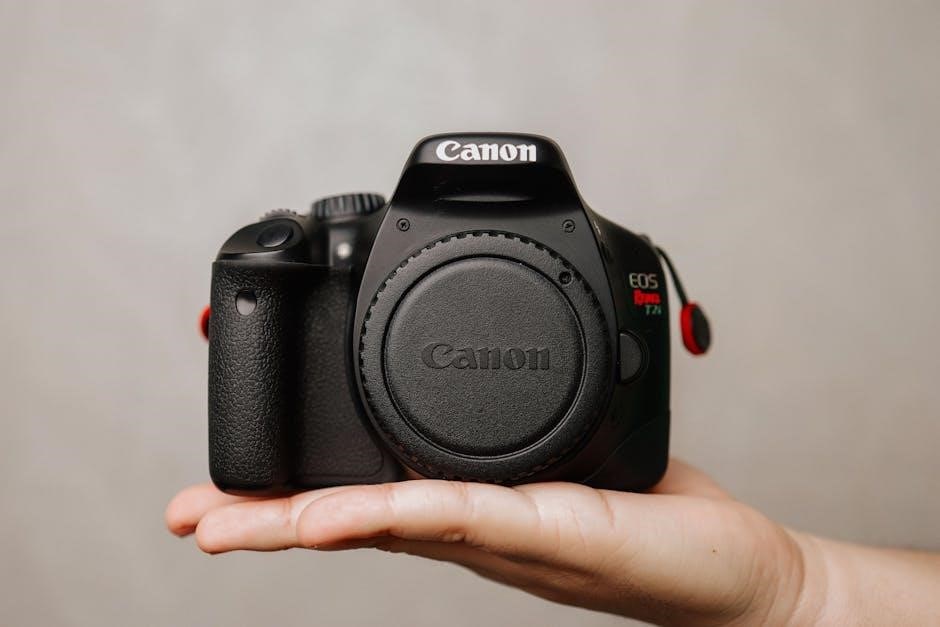
Understanding the Camera Body & Controls
The Canon Rebel T3 features a user-friendly design. Familiarize yourself with the key components. The mode dial, located on top, selects shooting modes like Auto, Scene, and Manual. The shutter button initiates image capture. The control dial adjusts settings within selected modes.
The back panel houses the LCD screen for image review and menu navigation. Buttons surrounding the screen control playback, menu access, and shooting settings. The directional pad navigates menus. Understanding these core controls is crucial for operating your camera effectively and exploring its full potential. Further details on specific controls are covered in subsequent sections.
Top Panel Controls
The Rebel T3’s top panel hosts essential controls. The mode dial is central, offering options like Auto, Program (P), Shutter Priority (Tv), Aperture Priority (Av), Manual (M), and Scene modes. The power switch activates the camera. The shutter button, a two-stage button, focuses and captures images.
A small exposure compensation dial allows quick adjustments to brightness. The built-in flash button controls the flash functionality. These controls provide direct access to frequently used settings, enabling quick adjustments without navigating the menu system. Mastering these elements streamlines your shooting process and enhances creative control.
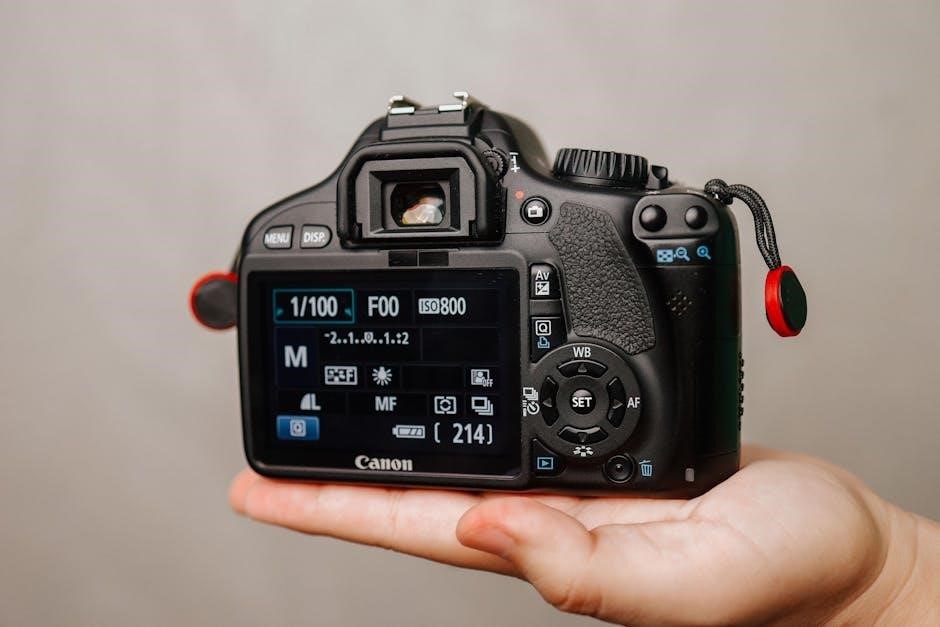
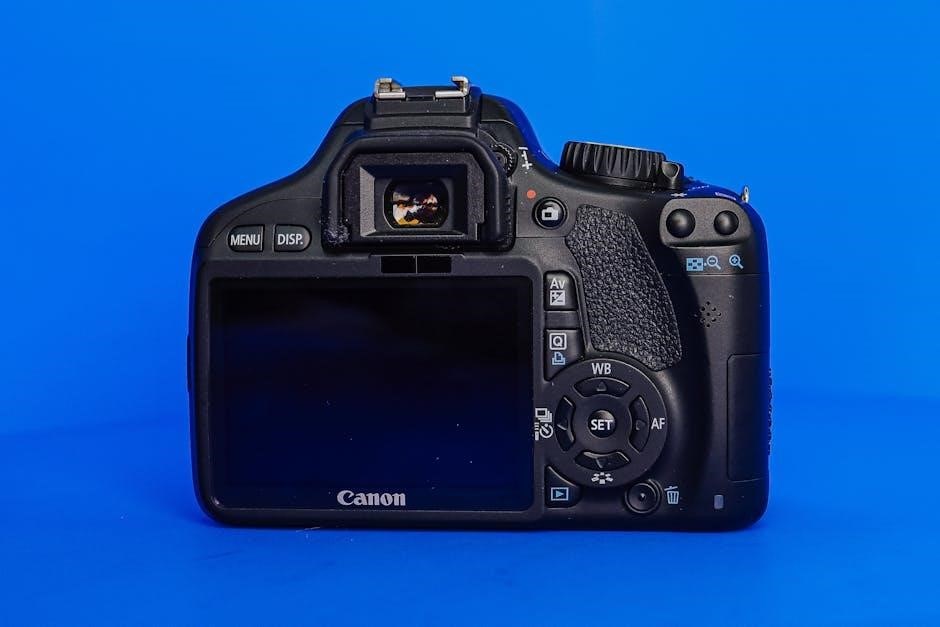
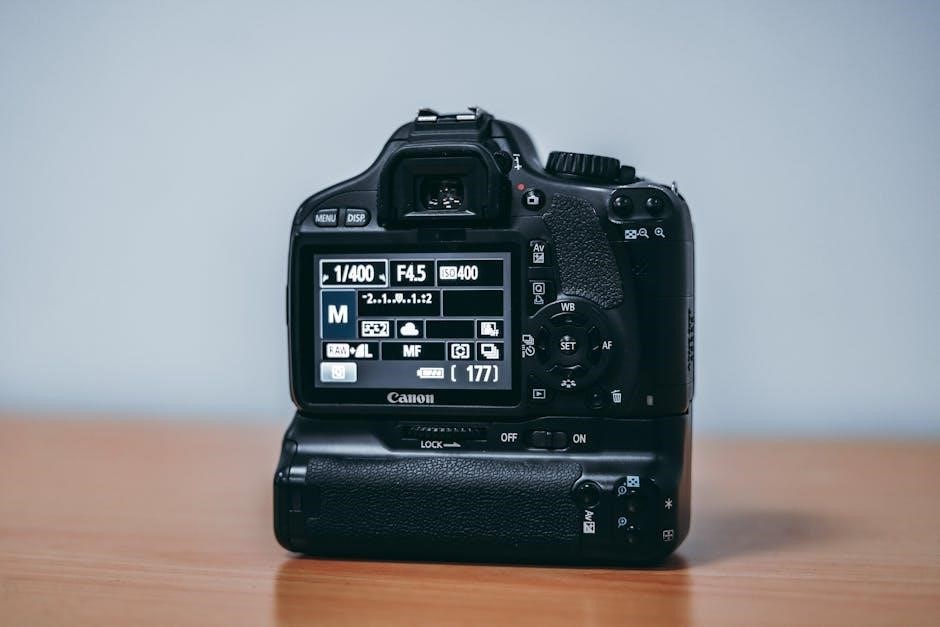
Back Panel Controls
The Rebel T3’s back panel is dominated by the LCD screen for image review and menu navigation. The directional buttons navigate menus and select options. The SET button confirms selections. The Q button (Quick Control) provides fast access to frequently used settings.
The Live View shooting button activates Live View mode. The AF-point selection/Zoom button controls focus points and image magnification. The Menu button opens the camera’s menu system. These controls, combined with the LCD, offer a user-friendly interface for adjusting camera settings and reviewing captured images efficiently.
Side Panel Ports & Slots (HDMI, AV, Remote)
The Canon Rebel T3 features a selection of ports and slots conveniently located on its side panel. The HDMI port allows for high-definition video output to connect to TVs and monitors for immediate playback and review. An AV output enables connection to older standard-definition televisions.
A remote control port accepts a wired remote release for hands-free shooting, ideal for self-portraits or long exposures; These connections expand the camera’s functionality, enabling versatile viewing and control options beyond the camera’s built-in screen. Securely covering unused ports is recommended to protect against dust and damage.
Inserting and Formatting Memory Cards
The Canon Rebel T3 utilizes SD cards for image and video storage. Locate the card slot, typically on the camera’s side. Gently insert the SD card until it clicks into place – do not force it! To format the card (erase all data), navigate to the camera’s menu system.
Select the ‘Format’ option, and choose the SD card. Formatting ensures optimal compatibility and performance. Always back up important images before formatting! The Rebel T3 supports SDHC cards up to 32GB. Regularly formatting your card helps maintain its reliability and prevents potential errors during shooting sessions.
Battery Charging and Management
The Canon Rebel T3 uses a LP-E10 battery. Use the supplied battery charger to fully charge the battery before first use. Charging typically takes several hours, indicated by a light on the charger. Avoid using third-party chargers, as they may damage the battery.
To conserve battery life, disable Live View when not needed and turn off the camera when inactive. The LCD screen consumes significant power. Store spare batteries in a cool, dry place. Avoid extreme temperatures. Regularly check the battery level indicator on the camera’s LCD to prevent unexpected power loss during shooting.
Understanding Shooting Modes
The Canon Rebel T3 offers several shooting modes to suit various situations. Full Auto mode simplifies operation, letting the camera handle all settings. Scene Modes (Portrait, Landscape, Sports, Night) optimize settings for specific subjects. Creative Auto allows some user control over background blur and flash settings.
For more experienced users, Program (P), Aperture Priority (Av), Shutter Priority (Tv), and Manual (M) modes provide full creative control. Experiment with these modes to learn how aperture, shutter speed, and ISO affect your images. The mode dial on top of the camera selects the desired shooting mode.
Auto Mode (Full Auto)
Full Auto mode, indicated by the green camera icon on the mode dial, is the simplest way to take pictures with your Canon Rebel T3. In this mode, the camera automatically selects all settings – aperture, shutter speed, ISO, white balance, and focus – based on the scene.
Simply point and shoot! It’s ideal for beginners or quick snapshots. The camera analyzes the scene and optimizes settings for best results. While convenient, Full Auto offers limited creative control. For better images, consider exploring Scene Modes or more advanced shooting modes as you become comfortable with your camera.
Scene Modes (Portrait, Landscape, Sports, etc.)
Scene Modes offer pre-set configurations optimized for specific shooting situations. Accessed via the mode dial, these modes simplify photography beyond Full Auto. Portrait mode blurs the background for pleasing subject isolation. Landscape mode prioritizes sharpness and vibrant colors for outdoor scenes.
Sports mode utilizes faster shutter speeds to freeze action. Other options include Night mode for low-light photography, Close-up mode for macro shots, and Kids mode. Each mode adjusts camera settings automatically, delivering improved results compared to Full Auto in its designated scenario. Experiment with each to understand their effects!
Creative Auto Mode
Creative Auto mode bridges the gap between fully automatic shooting and manual control. It allows you to influence the aesthetic of your photos without complex settings. You can select desired effects like Soft Focus, Vivid Color, or Monochrome, and adjust the background blur intensity.
The camera handles aperture and shutter speed, but you control the overall look. This mode is excellent for learning how different settings impact images. It’s a step up from Full Auto, offering creative freedom while remaining user-friendly. Explore the available options to personalize your photography and achieve unique results!
Focusing Modes & Techniques
The Canon Rebel T3 offers several focusing modes to suit various shooting scenarios. One-Shot AF is ideal for stationary subjects; the camera focuses when you half-press the shutter button. AI Servo AF continuously tracks moving subjects, adjusting focus as they move – perfect for sports or wildlife.
Automatic Selection of AF point lets the camera choose the focus point, while you can manually select one of the nine AF points for precise control. Learn to utilize focus lock by half-pressing and recomposing. Mastering these techniques ensures sharp, clear images, regardless of the subject’s movement or your composition.
Understanding Exposure: Aperture, Shutter Speed & ISO
Exposure is the amount of light reaching the camera sensor, controlled by aperture, shutter speed, and ISO. Aperture (f-stop) controls the lens opening – lower numbers mean more light and shallow depth of field. Shutter speed determines how long the sensor is exposed to light; faster speeds freeze motion, slower speeds allow more light.
ISO measures the sensor’s sensitivity to light; higher ISOs are useful in low light but can introduce noise. Balancing these three elements is key to achieving a well-exposed photograph. Experiment with different settings to understand their impact on your images and creative control.
Navigating the Menu System
The Canon Rebel T3’s menu system is accessed via the MENU button. It’s organized into several tabs, each representing a different category of settings: Shooting, AF, Quality, Setup, etc. Use the directional buttons to navigate and the SET button to select options.
Familiarize yourself with the menu structure to quickly adjust settings like image quality, white balance, and autofocus modes. The menu displays helpful explanations for each option. Don’t be afraid to explore! You can reset all settings to their defaults within the Setup menu if needed, providing a fresh start.
Image Quality Settings (RAW vs. JPEG)
The Rebel T3 allows you to choose between shooting in RAW and JPEG formats. JPEG files are compressed, smaller in size, and ready to share, but offer limited editing flexibility. RAW files are uncompressed, larger, and retain all image data captured by the sensor.
Shooting in RAW provides maximum control during post-processing, allowing for adjustments to white balance, exposure, and detail without significant quality loss. While requiring more storage space and editing software, RAW is ideal for serious photographers. For casual shooting, JPEG is often sufficient and more convenient.
Using Live View Mode
Live View on the Rebel T3 displays the image directly on the LCD screen, allowing you to compose and review shots as they will appear. Activate it using the Live View button on the back of the camera. This mode is particularly useful for precise composition, macro photography, and shooting from awkward angles.
Within Live View, you can utilize features like grid display and magnification for accurate focusing; Be mindful that prolonged Live View use can lead to sensor heating, potentially affecting image quality. The camera will display a warning if overheating occurs. It’s a fantastic tool for careful shot setup!
Recording Video with the Rebel T3
The Canon Rebel T3 can record video in 720p HD. To start recording, switch to Video mode by rotating the mode dial. Press the Start/Stop button to begin and end recording. Remember to insert a compatible SD card with sufficient storage for your video files.
During video recording, you can use the zoom function, but the microphone is monaural, so external microphones are recommended for improved audio quality. Be aware of recording time limits; the camera may automatically stop recording to prevent overheating. Experiment with different settings for optimal results!
Basic Troubleshooting
Problem: Camera won’t turn on? Ensure the battery is fully charged and correctly inserted. Check the battery compartment contacts for any obstructions. Problem: Lens errors? Confirm the lens is securely attached and compatible with the Rebel T3. Clean the lens contacts gently.
Problem: Error messages on the screen? Refer to the camera’s menu for specific error code explanations. Restarting the camera often resolves minor glitches. If issues persist, consult the Canon support website or a qualified technician. Always avoid forcing any components.
Common Error Messages

Err 90: Indicates a memory card issue – try reformatting or using a different card. Err 00: Often relates to a problem with the shutter; turn the camera off and on. Err 80: Suggests a lens communication error; reattach the lens securely.
Err C00: Usually a sensor cleaning reminder; consult the manual for cleaning instructions. Blinking Battery Icon: Low battery – charge or replace it immediately. Card Full/Protected: Replace the card or unlock write protection. Refer to the full Canon manual for a complete list and detailed solutions.
Lens Compatibility Issues
The Canon Rebel T3 utilizes the Canon EF/EF-S lens mount. EF-S lenses are designed specifically for crop-sensor cameras like the T3, while EF lenses are compatible with both full-frame and crop-sensor bodies. Ensure the lens is securely mounted and the electronic contacts align.
If a lens isn’t recognized, check for firmware updates for both the camera and lens (if applicable). Third-party lenses may require adapter rings; verify compatibility before purchase. Avoid forcing the lens mount. A “Lens Error” message indicates a communication problem – try cleaning the contacts or using a different lens.
Cleaning and Maintenance
Regular cleaning preserves your Canon Rebel T3’s performance. Use a blower to remove dust from the sensor – avoid touching it directly. Gently wipe the exterior with a soft, dry cloth. For stubborn smudges on the LCD screen, use a lens cleaning solution and a microfiber cloth.
Clean the lens with lens paper and cleaning solution, applying circular motions. Store the camera in a dry, dust-free environment. Avoid extreme temperatures and humidity. Do not use harsh chemicals or solvents. Periodically check the battery compartment for corrosion and clean if necessary. Proper care extends the camera’s lifespan;
Connecting to a Computer & Transferring Photos
Transferring images is simple! Connect your Canon Rebel T3 to your computer using the provided USB cable. Power on the camera, and select “PC Connect” in the camera’s menu. Your computer should recognize the camera as a removable drive.
Alternatively, use a card reader for faster transfer speeds. Canon’s Digital Photo Professional (DPP) software, downloadable from their website, offers advanced editing and organization features. You can also drag and drop files directly from the camera’s drive. Ensure you safely eject the camera from your computer before disconnecting the USB cable to prevent data corruption.
Using Canon’s Digital Learning Resources
Expand your knowledge with Canon’s extensive online resources! The Canon website offers a wealth of tutorials, FAQs, and downloadable materials specifically for the Rebel T3. Explore their digital learning portal for in-depth guides on photography basics, camera settings, and creative techniques.
Canon also provides access to online communities and forums where you can connect with other Rebel T3 users, share tips, and ask questions. Don’t forget to check out Canon’s YouTube channel for helpful video tutorials demonstrating various features and shooting modes. These resources are invaluable for mastering your camera!
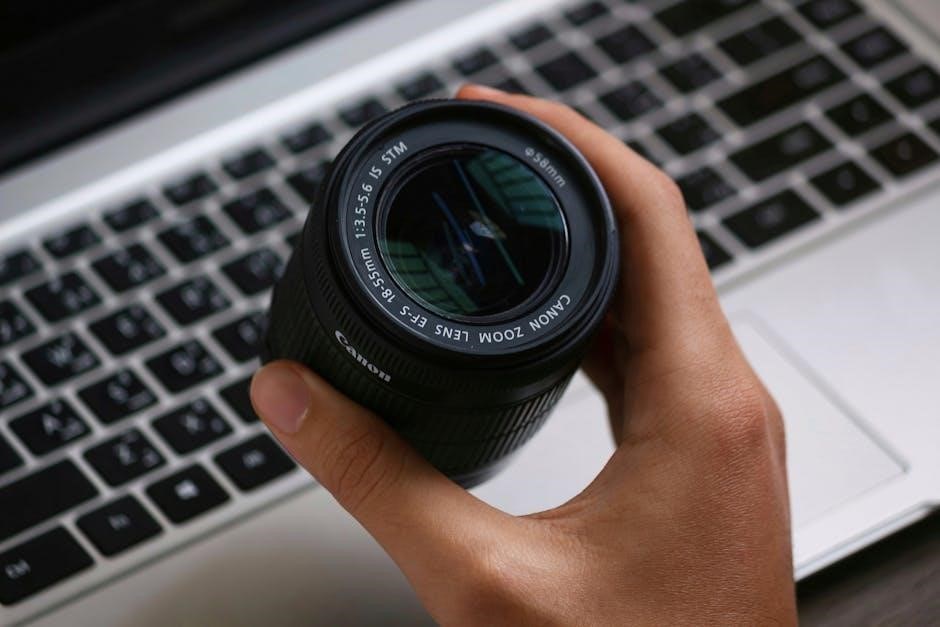
Understanding the Kit Lens (EF-S 18-55mm)
Your versatile starting point, the EF-S 18-55mm lens is a fantastic all-rounder. Its zoom range makes it suitable for various subjects, from landscapes at 18mm to portraits around 55mm. Understand its aperture range (typically f/3.5-5.6) impacts depth of field and low-light performance.
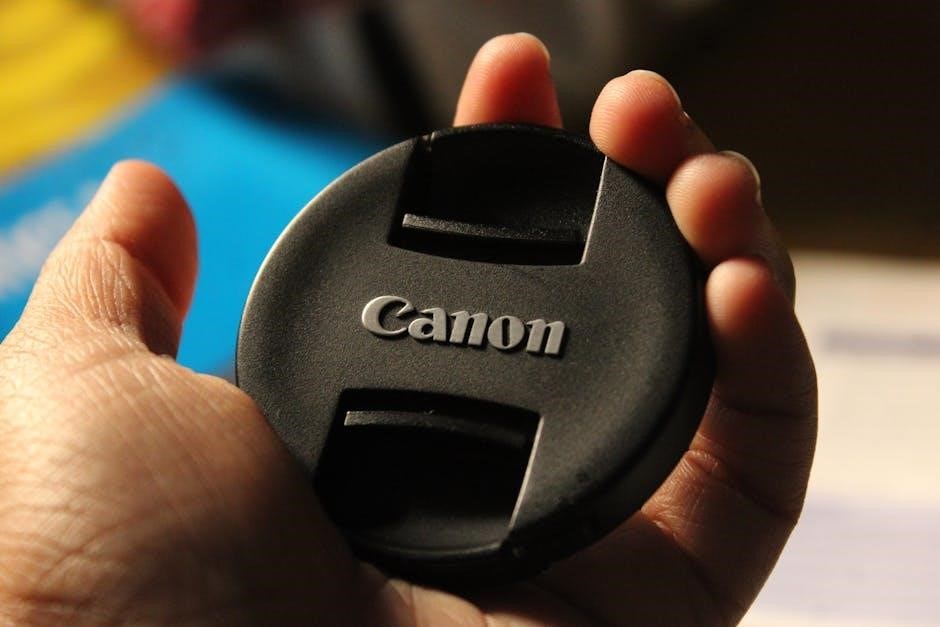
Learn to utilize the zoom ring for framing and the focus ring for sharpness. This lens is ideal for learning composition and exposure. While a great entry point, consider exploring other lenses later to expand your creative possibilities. Proper care, like using a lens cap, will ensure its longevity.
Further Resources & Support
Expand your knowledge! Canon provides extensive online resources, including detailed FAQs, downloadable manuals, and helpful video tutorials specifically for the Rebel T3. Explore the official Canon website for software updates and driver downloads to ensure optimal camera performance.
Canon’s Digital Learning Resources offer interactive courses for all skill levels. Additionally, numerous online forums and communities are dedicated to Canon photography, providing a platform to ask questions, share experiences, and learn from fellow enthusiasts. Don’t hesitate to utilize Canon’s customer support for personalized assistance if needed – they are readily available!